|
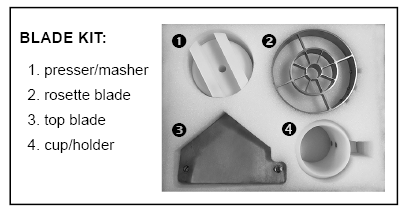
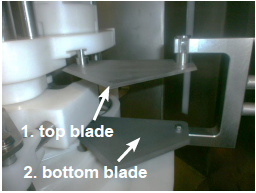
1. Remove top blade by turning counter-clockwise. CAUTION: VERY SHARP BLADES! CUT-SAFE GLOVES RECOMMENDED. 2. Remove top blade by turning counter-clockwise.
3. Remove the Rosette Blade from the cutout in the connecting unit. Pay attention to positioning and sharp side up. Be sure to lift blade up, by pressing it from the bottom. Then remove it. CAUTION: VERY SHARP BLADES! CUT-SAFE GLOVES RECOMMENDED.
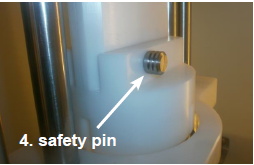
4. Remove the safety pin.
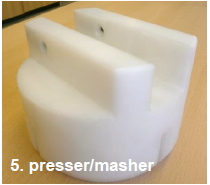
5. Remove the presser/masher from the machine.
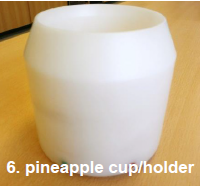
6. Twist the pineapple cup/holder from the valve.
7. Place the parts back into the machine in reverse order: a. Place part 6, the cup holder, into the machine. Close and lock the door. Press flashing red button to “home” the machine allowing it to perform one full cycle and prepare it for use. Put other size blades back into container.
|
How to Change the Blade

Have more questions? Submit a request
Please sign in to leave a comment.
0 Comments